Nagios Core is our open-source monitoring solution and the foundation that Nagios XI is built on. You can do a lot with Core, but most of the setup and ongoing changes are handled through configuration files and plugins.
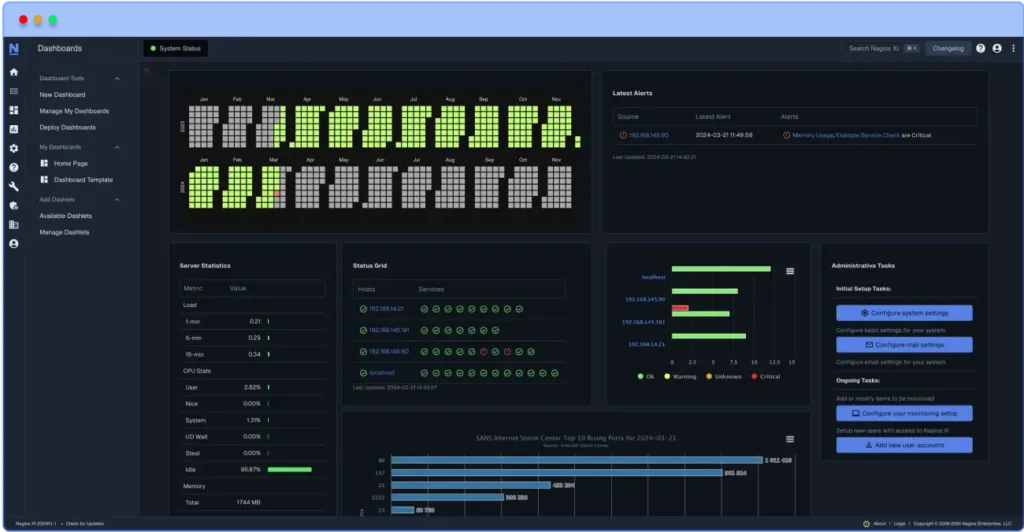
Nagios XI uses the same underlying engine, but adds a web-based interface that streamlines common tasks like adding new hosts and services, managing users, and generating dashboards and reports. For many teams, XI reduces the amount of manual configuration work and saves time as monitoring needs grow.
If you have been using Nagios Core for a long time, moving to Nagios XI is a common next step when you want a more guided workflow and better visibility while keeping compatibility with your existing checks and configuration. The sections below outline a straightforward upgrade path and the recommended resources to help you plan and complete the transition from Nagios Core to Nagios XI.
1. Set up a Nagios XI Test Environment Using the Free 30-day Trial
To begin, download the Nagios XI free 30-day trial to get familiar with the solution and see how it can meet your monitoring needs. With the tutorial below covering all four installation methods, it only takes around 20 minutes to download and start monitoring devices, servers, and applications.
Starting with an XI test server is the perfect opportunity to test out monitoring your devices and explore its dashboards, reports, and other useful features, such as the 70+ easy-to-use Monitoring Wizards that are included. The test environment will also help ensure that all your critical data will be able to transfer properly from Core to the full production version.
If you need any kind of assistance during the trial, you have the option to book a Quickstart session, which is a session with Nagios technical support where you can get help with the initial setup of your Nagios XI Instance. During the Quickstart, you can ask questions, and learn how to take full advantage of your XI trial. If you require more assistance after your Quickstart, support plans are available for purchase on the Nagios Support site.
2. Migrate Your Data to the New Nagios XI Instance
Deploy a new Nagios XI instance on separate hardware or a VM so you can migrate and test without disrupting your existing Core system. Before migrating, copy any custom plugins, scripts, and event handlers you rely on so the checks behave the same once imported.
Nagios XI supports two migration paths:
- Automatic Migration Guide (recommended to start): Use the XI “Migrate Server” tool to pull your Core object configuration and plugins into a new XI instance. It is the quickest way to validate that your existing monitoring definitions import cleanly before you invest time in manual steps.
- Note: This method migrates object configuration and plugins; performance data is not migrated.
- Manual Migration Guide (best control for complex setups): If your Core configuration is highly customized, use the manual migration guide. It covers migrating Core configuration files into XI and bringing over custom plugins and scripts using supported workflows.
- Note: The guide focuses on single-server migrations; distributed Core environments require NRDP or NSCA configuration and re-pointing remote servers to the XI central server.
If you prefer a video walkthrough of both migration methods, here is a step-by-step tutorial covering automatic and manual migration:
Also available:
[Webinar Recording] Benefits of Migrating to Nagios XI from Core
Once the migration is complete, review imported hosts and services, confirm plugin paths and credentials, and run a controlled test notification. After you are satisfied with results, you can expand coverage and tune alerting in XI.
3. Finalize Setup and Verify Nagios XI Is Functioning Properly
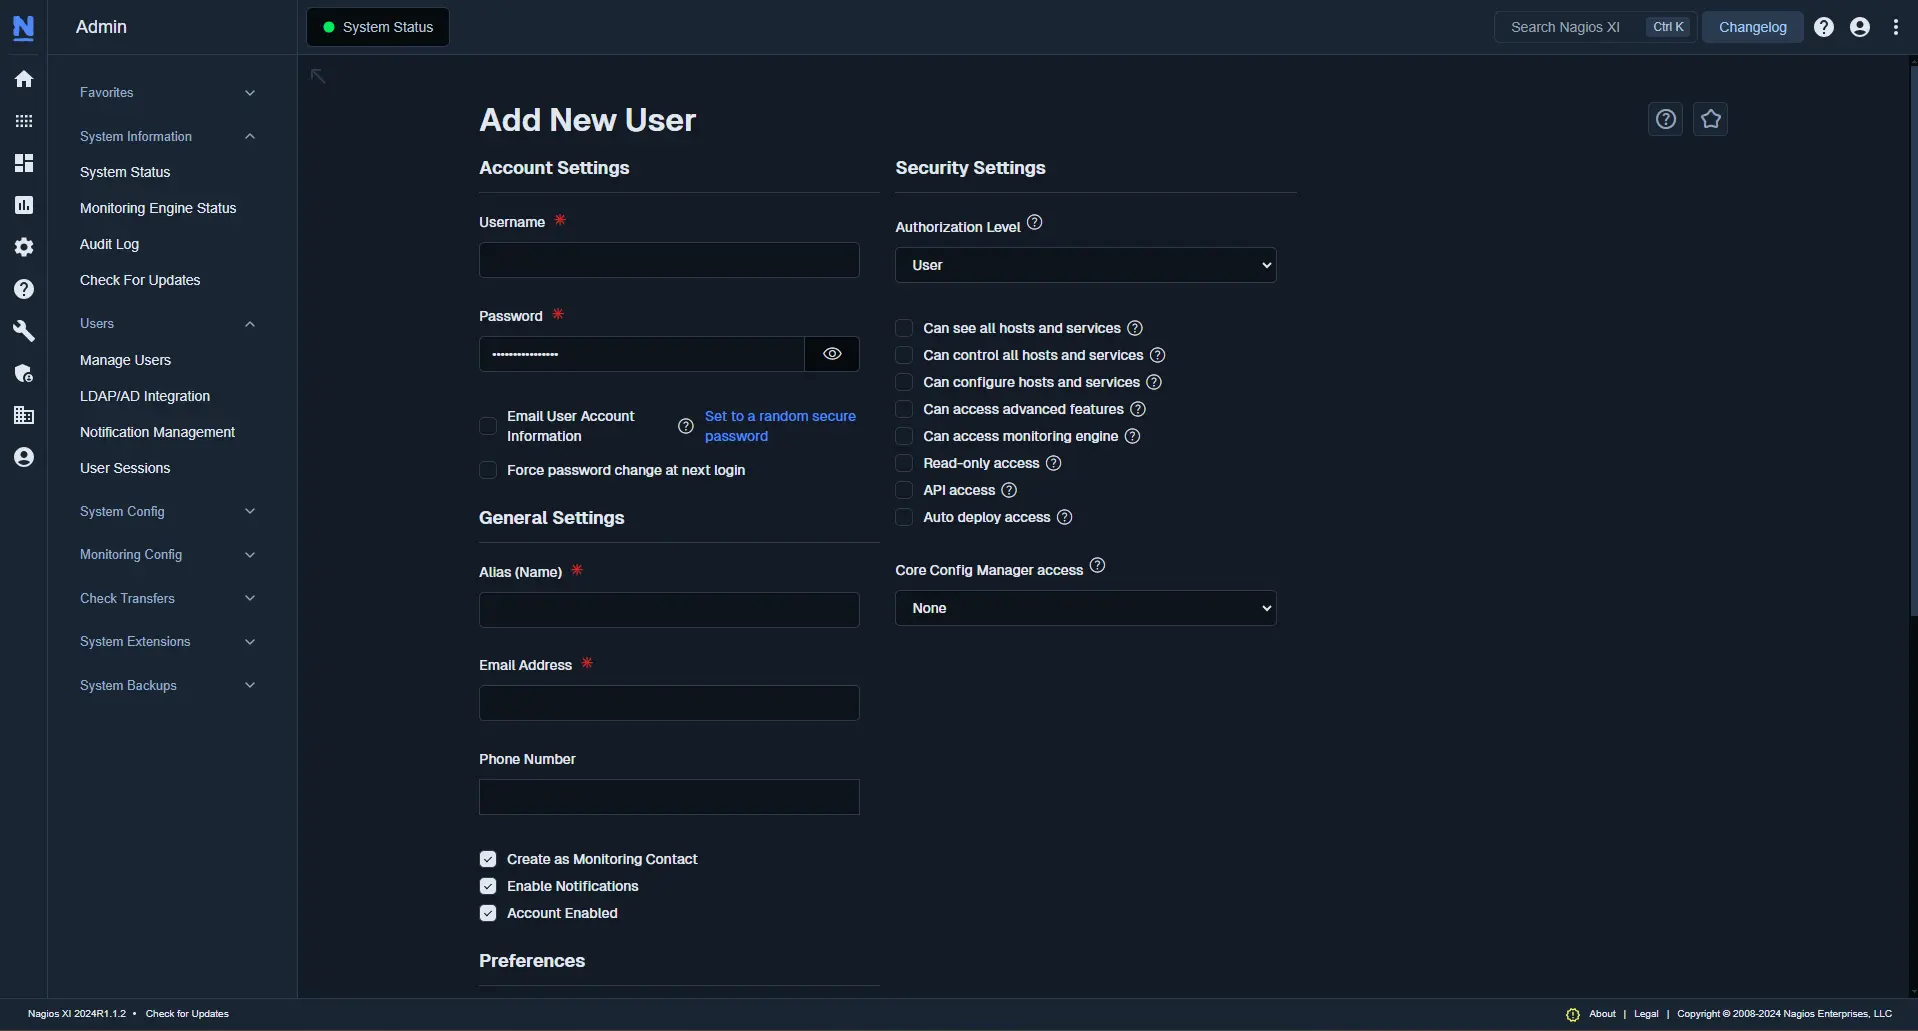
After you have successfully migrated your Core data to your new XI Instance, set up user permissions using XI’s user accounts, permissions, and visibility controls. These views enable you to control which employees can see what within the solution, so employees only see the information that is relevant to their job. After users are set up, choose who gets alerted when problems arise.
Once you’ve finalized user permissions, verify that the Instance is functioning correctly by checking that your Hosts and servers are transmitting data as expected and that XI is receiving the information needed to monitor effectively.
4. Decommission Your Nagios Core Instance
The last step when migrating from Core to XI is to decommission your Core instance once the migration is complete. It is strongly recommended that you retain a backup of the Core server and its configuration files in case you need them in the future. Decommissioning the Core instance is typically as simple as powering off the old server once you have validated XI is operating as expected.
If you need any assistance, head over to our Nagios Support site.
A Migration to an Improved Monitoring Experience
Nagios XI is created on the foundation of Nagios Core, so you can build on Core’s power, functionality, and versatility while enhancing your monitoring experience with XI’s streamlined UI and additional features. Nevertheless, it can be overwhelming to migrate from a solution you’re familiar with to something new. Nagios makes migrating to XI so easy that you can see the time and cost-saving benefits of our enterprise-level monitoring solution without worrying about losing your Core data.
Ready to try it out? Get a free trial of Nagios XI today.
Interested in seeing what Nagios XI can do for you? Book a demo and let our experts walk you through the software and answer your questions along the way.